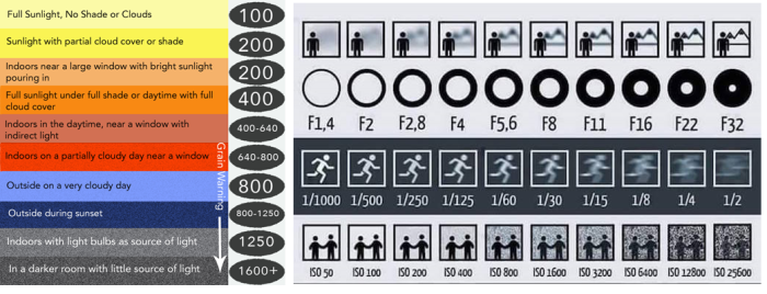
SETTING YOUR CAMERA
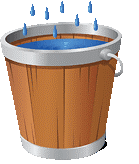
Achieving the correct exposure is a lot like collecting rain in a bucket. While the rate of rainfall is uncontrollable, three factors remain under your control: the bucket's width, the duration you leave it in the rain, and the quantity of rain you want to collect. You just need to ensure you don't collect too little ("underexposed"), but that you also don't collect too much ("overexposed"). The key is that there are many different combinations of width, time and quantity that will achieve this. For example, for the same quantity of water, you can get away with less time in the rain if you pick a bucket that's really wide. Alternatively, for the same duration left in the rain, a really narrow bucket can be used as long as you plan on getting by with less water.
In photography, the exposure settings of aperture, shutter speed and ISO speed are analogous to the width, time and quantity discussed above. Furthermore, just as the rate of rainfall was beyond your control above, so too is natural light for a photographer.
In photography, the exposure settings of aperture, shutter speed and ISO speed are analogous to the width, time and quantity discussed above. Furthermore, just as the rate of rainfall was beyond your control above, so too is natural light for a photographer.
The Exposure Triangle
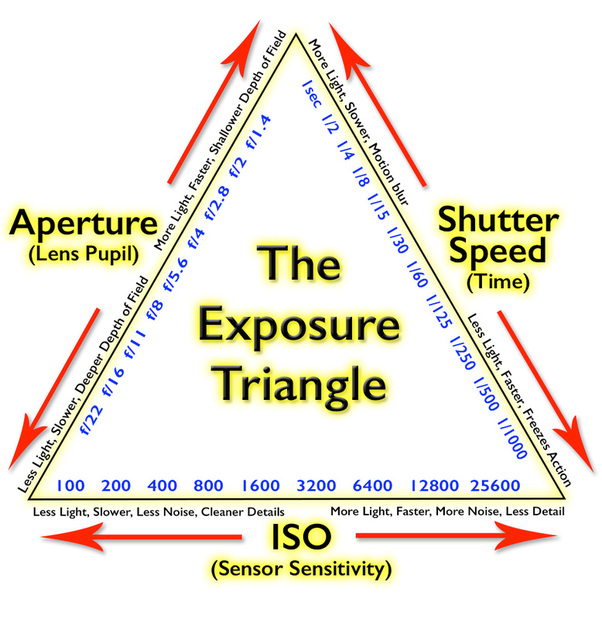
Aperture - how MUCH light is allowed in
- measured in F-STOPS
-DSLR setting "AV" (Canon) "A" (Nikon/Sony) or "M"
Shutter Speed - how LONG light is allowed in
- measured in TIME
-DSLR setting "TV" (Canon) "S" (Nikon/Sony) or "M"
ISO - how light SENSITIVE the camera sensor is
- measured in hundreds
-DSLR setting ISO
- measured in F-STOPS
-DSLR setting "AV" (Canon) "A" (Nikon/Sony) or "M"
Shutter Speed - how LONG light is allowed in
- measured in TIME
-DSLR setting "TV" (Canon) "S" (Nikon/Sony) or "M"
ISO - how light SENSITIVE the camera sensor is
- measured in hundreds
-DSLR setting ISO
VIRTUAL DIGITAL CAMERA - DSLR SIMULATOR
Here is a fun way to practice setting a camera without actually needing to have a DSLR! This is a DSLR simulator and it will allow you to set all of the settings in manual mode and take a virtual photograph just like you would with your camera! It is a great tool for learning how the exposure triangle settings all work together.
|
| ||
Long Exposure Times & Artificial Light
Capture Vivid Colours
|
The more you are able to control your camera by understanding how it works and how to apply the settings the better your photos will be. A really skilled photographer adjusts in camera whenever possible, NOT in software!
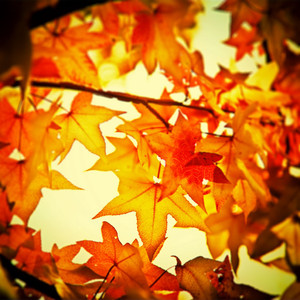
Vivid Colour Tricks
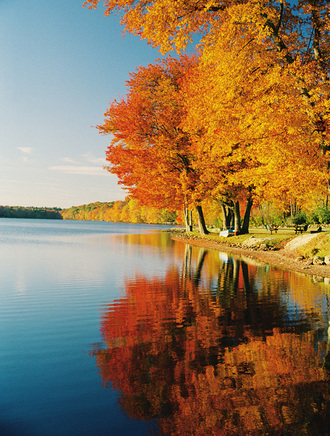
Fall Photography Combine Colours Primary colours look stronger than pastel shades. Remember your junior art classes? Think complementary colours! Contrasting colours in the same picture also clash and add impact – blue and yellow are the best, followed by red and green. Shoot in the Right Light The way colours record has a lot to do with the quality of light. Sunny weather’s the most effective psychologically, though bright overcast is said to be even better because contrast and glare are reduced. Underexpose A little underexposure can make colours appear stronger. Just 1/3-1/2 stop is all you need. Any more and the image will appear too dark. Look at the camera's built in light meter and watch where it lands with your settings to know if you are underexposed and by how much. |
In a perfect world where we have all of the best equipment...
Use polarising filters Polarising filters not only deepen blue sky but also reduce glare and haze so that colours come out crisper and more deeply saturated. Use enhancing filters Red enhancers are ideal for autumnal foliage shots as they improve the warm colours and filter out cool casts. Avoid including the sky, however, as it tends to go magenta. 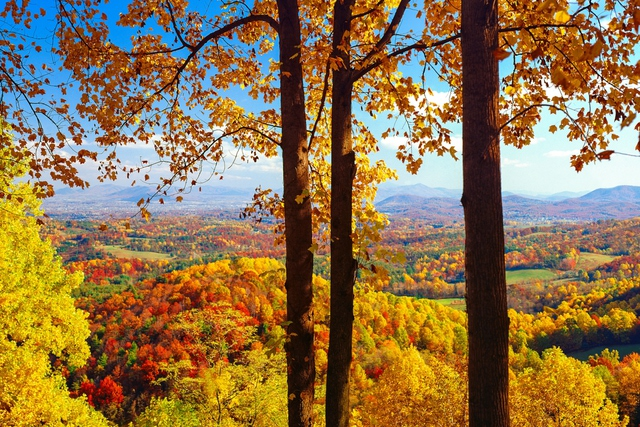

| ||||
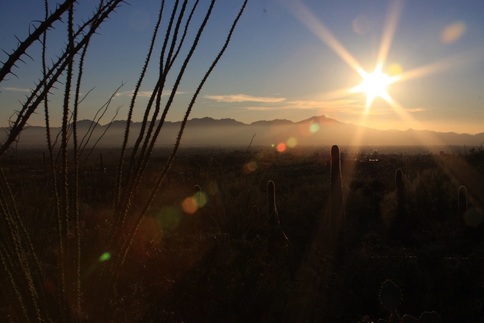
LENS FLARE...yay or nay?
|
| ||
CAPTURING MOTION
| how_to_capturing_motion_effectively.pdf |
